Last month, I traveled to the Chilean part of Patagonia. It had always been a bit of dream to go this far on the planet. Flying over the Andes made the first minutes spectacular, and yet we hadn’t seen anything yet.

I kept telling friends while looking at map: “damn, look at where are!”

Awesome right?
As you can see, we decided to do the Chilean side and skip the Argentinean one. The idea was to go to Torres del Paine National Park and trek there for about 5 days, completing the famous W.

Ah and yeah, the W looks like this:

Source: Torres del Paine National Park, the definitive guide. Jeremy Kuriloff. Medium. 2015.
Most people do this trip the other way around (East to West), starting with the most iconic part of the park (the most touristy as well though). But we’ll get to that later. First off, we should talk about how you get to Torres del Paine — you’re not there straight off the plane. To get to this insanely beautiful part of the world, you first go to Punta Arenas and then to Puerto Natales, from which you get a boat.
I was curious about those two towns: from my research it seemed like there wasn’t much. Well, it turned out that… there wasn’t much.
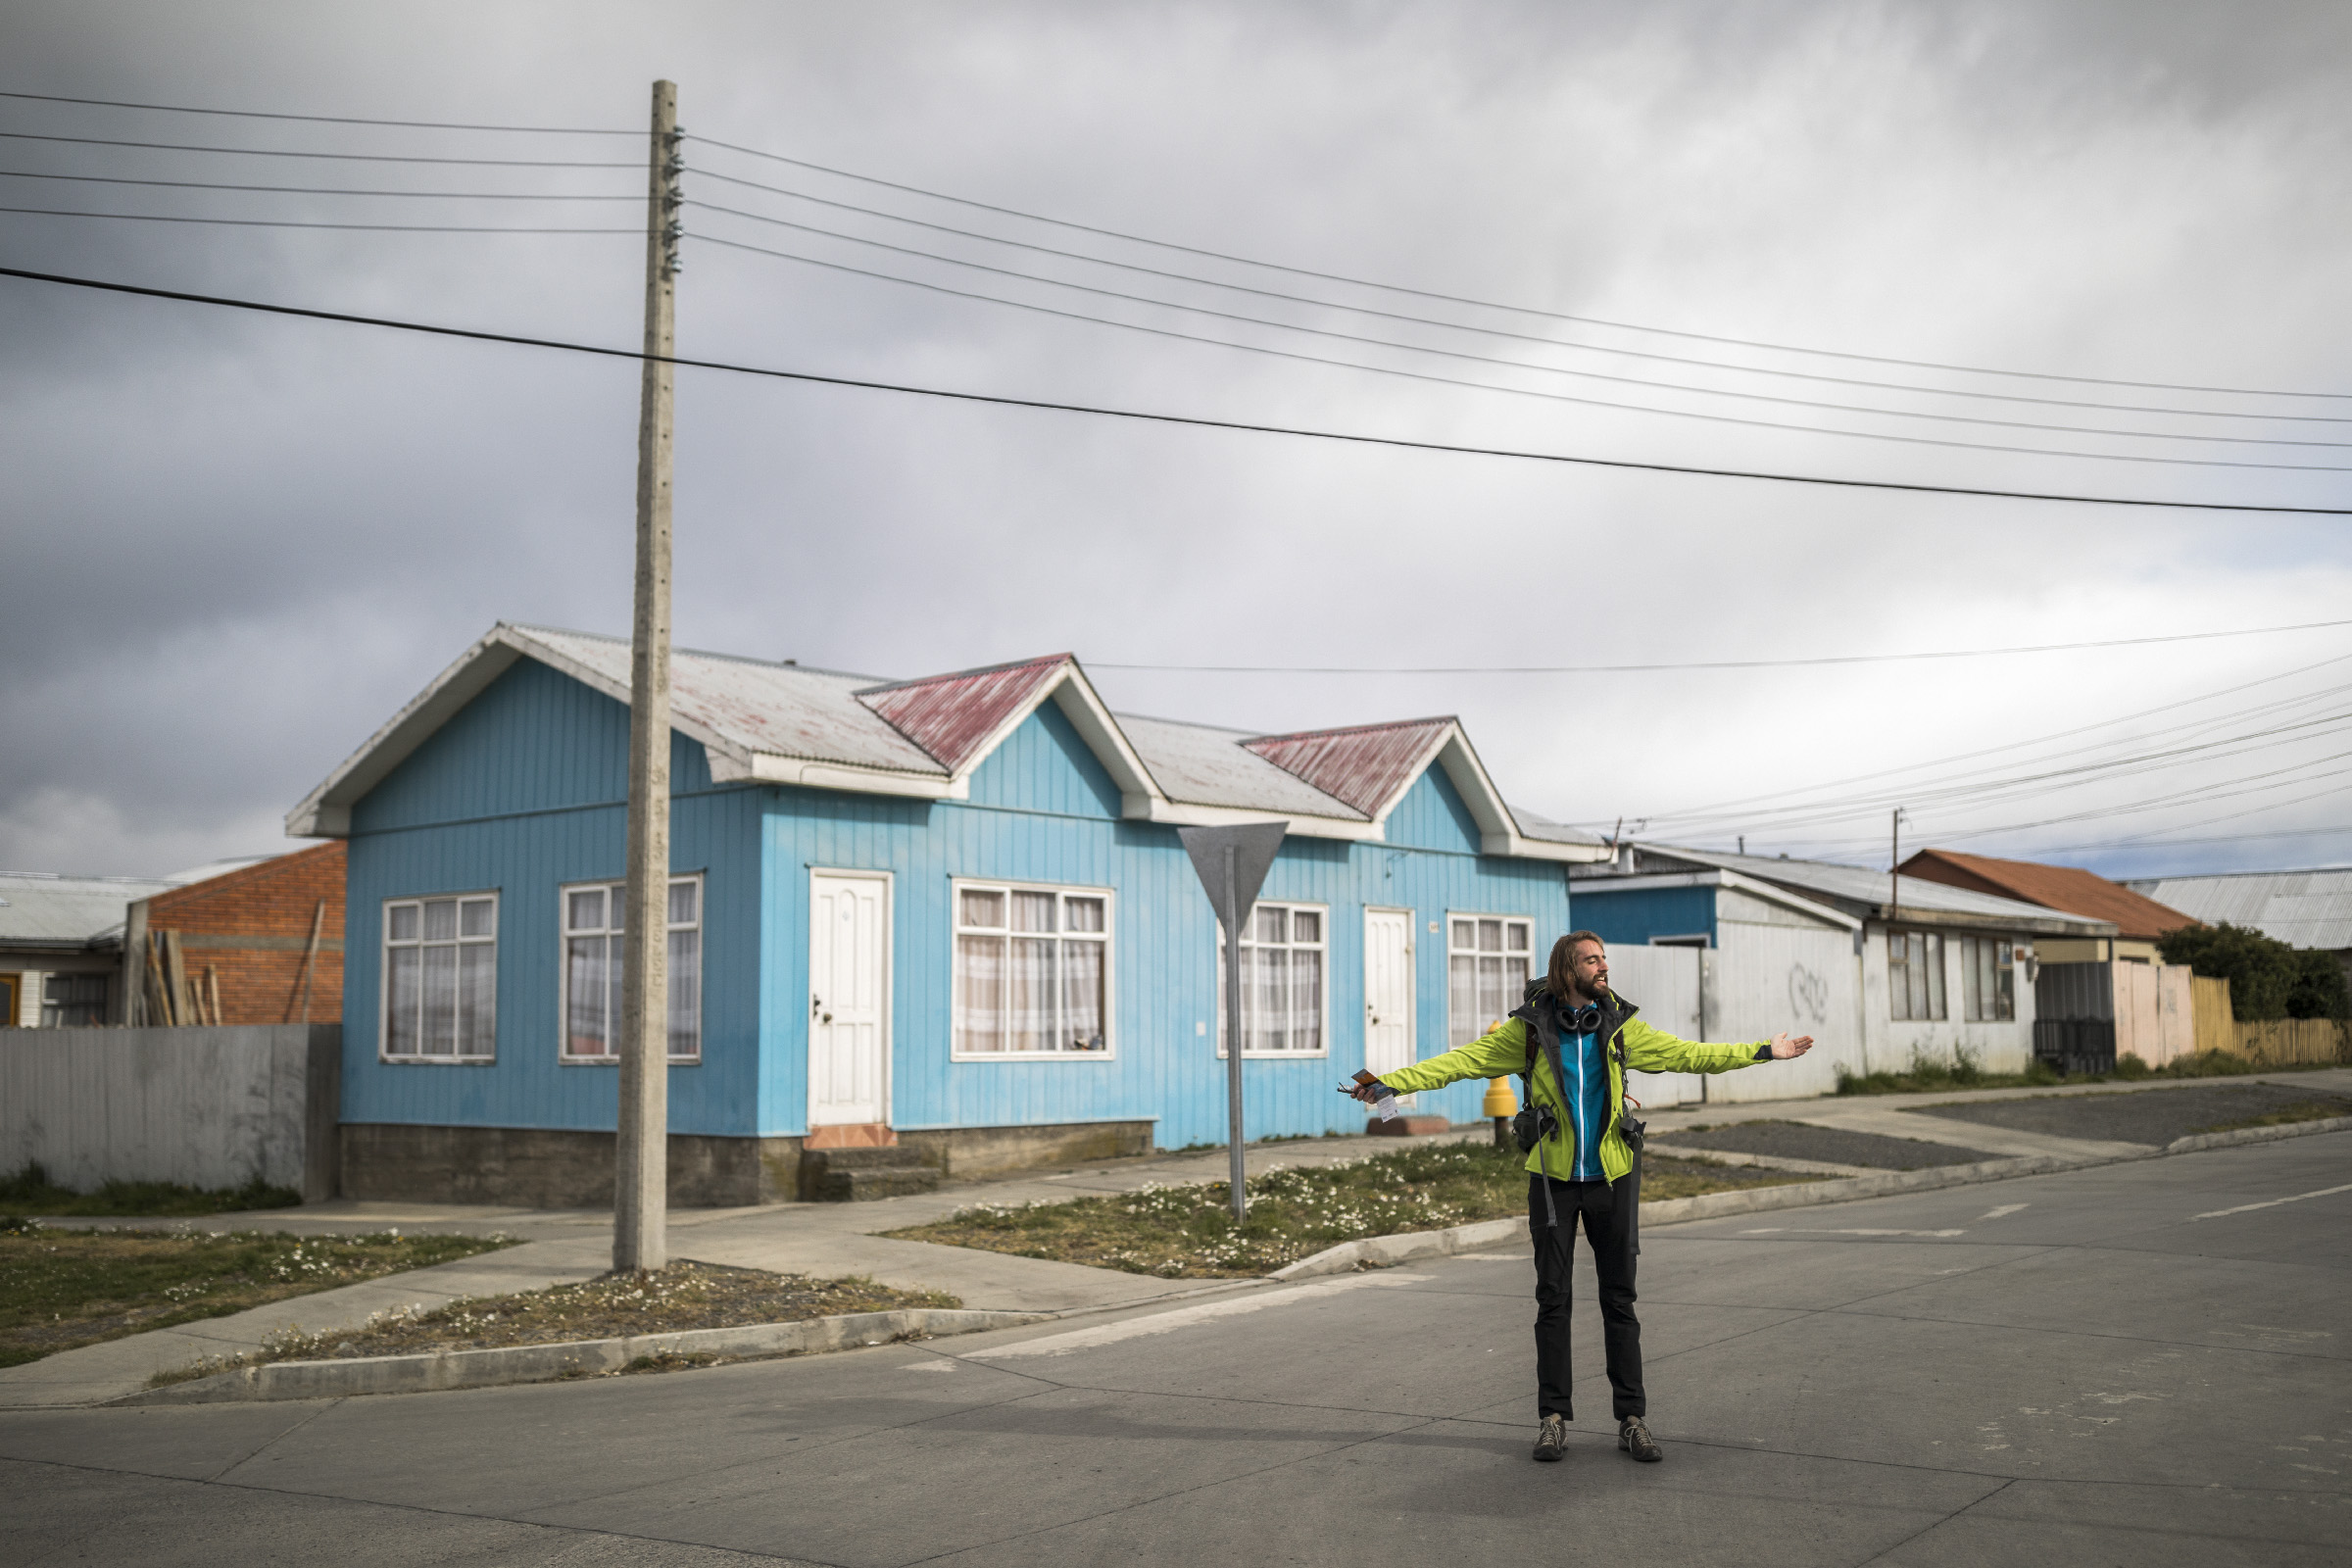
Punta Arenas
Punta Arenas is a city near the tip of Chile’s southernmost Patagonia region. Located on the Strait of Magellan, which connects the Atlantic and Pacific oceans, it’s often used as base for excursions to the surrounding wilderness and Antarctica (an upcoming trip?).
It did feel a bit like a ghost town, lost in the middle of nowhere. You go there to get to the real place. Note through that it’s one of your last chances to get your sort-of-waterpoof rain jacket for Torres del Paine :).


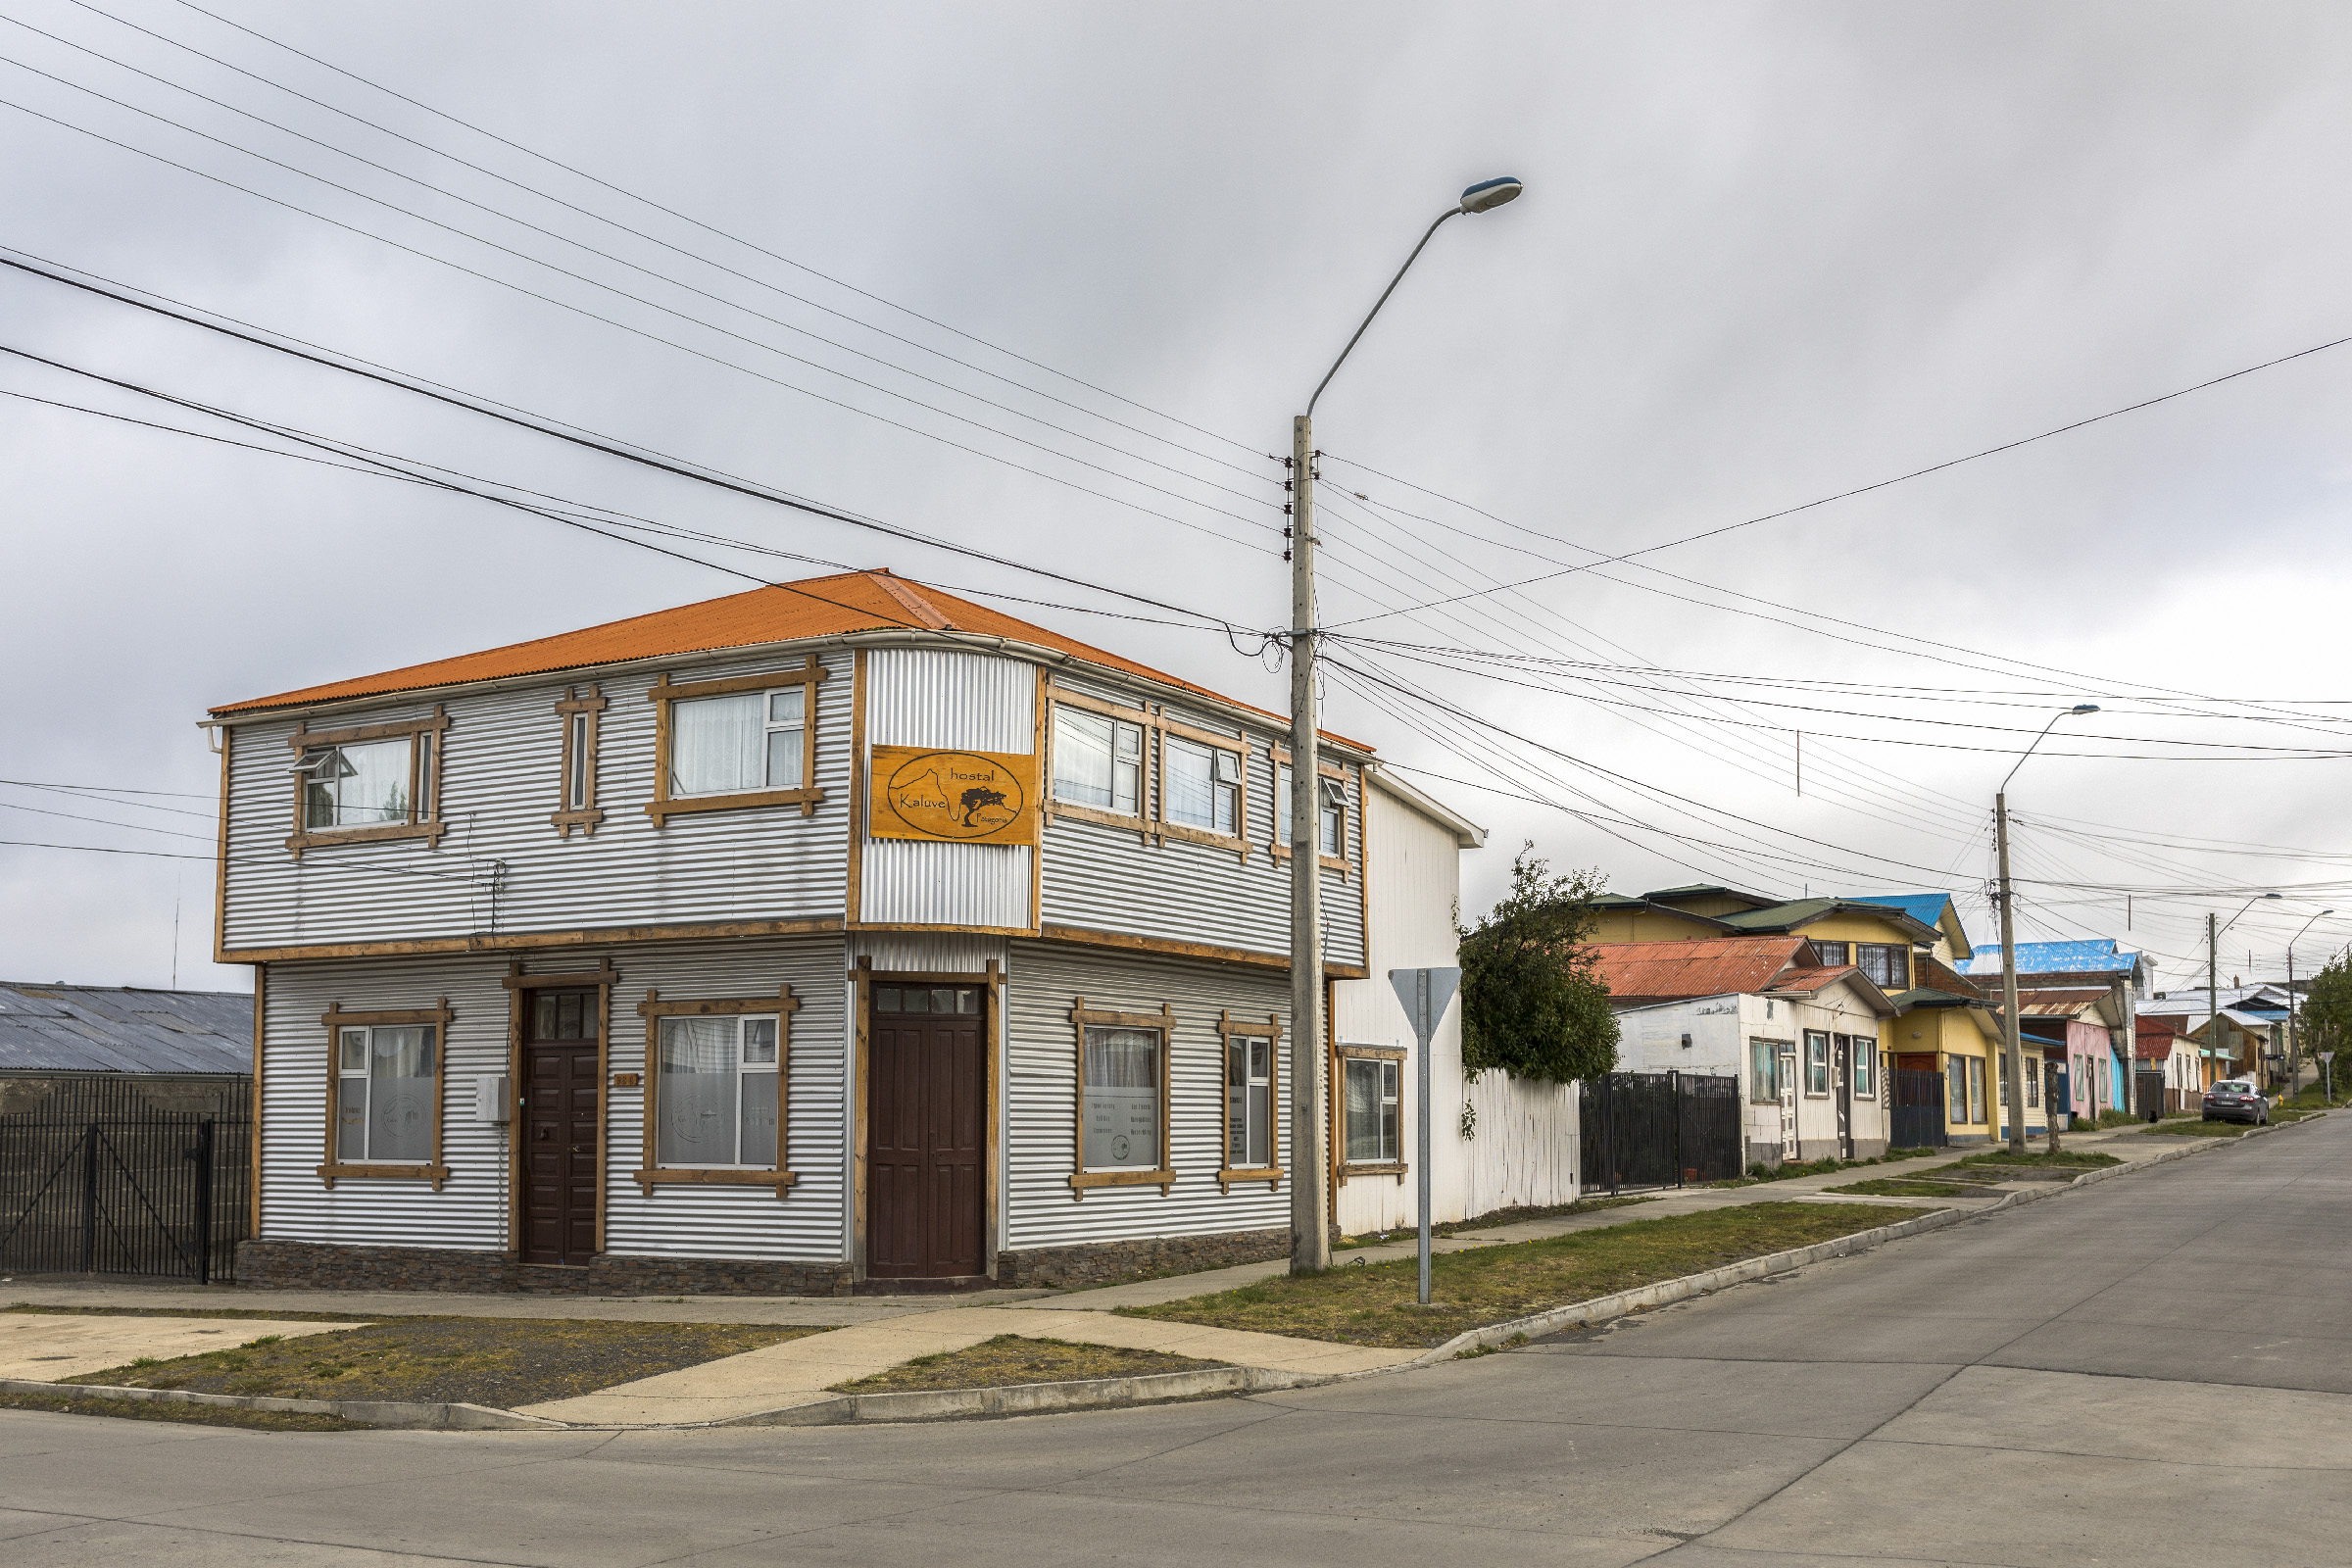
Puerto Natales
After spending the night in Punta Arenas, we got to Puerto Natales, under a creamy grey sky.


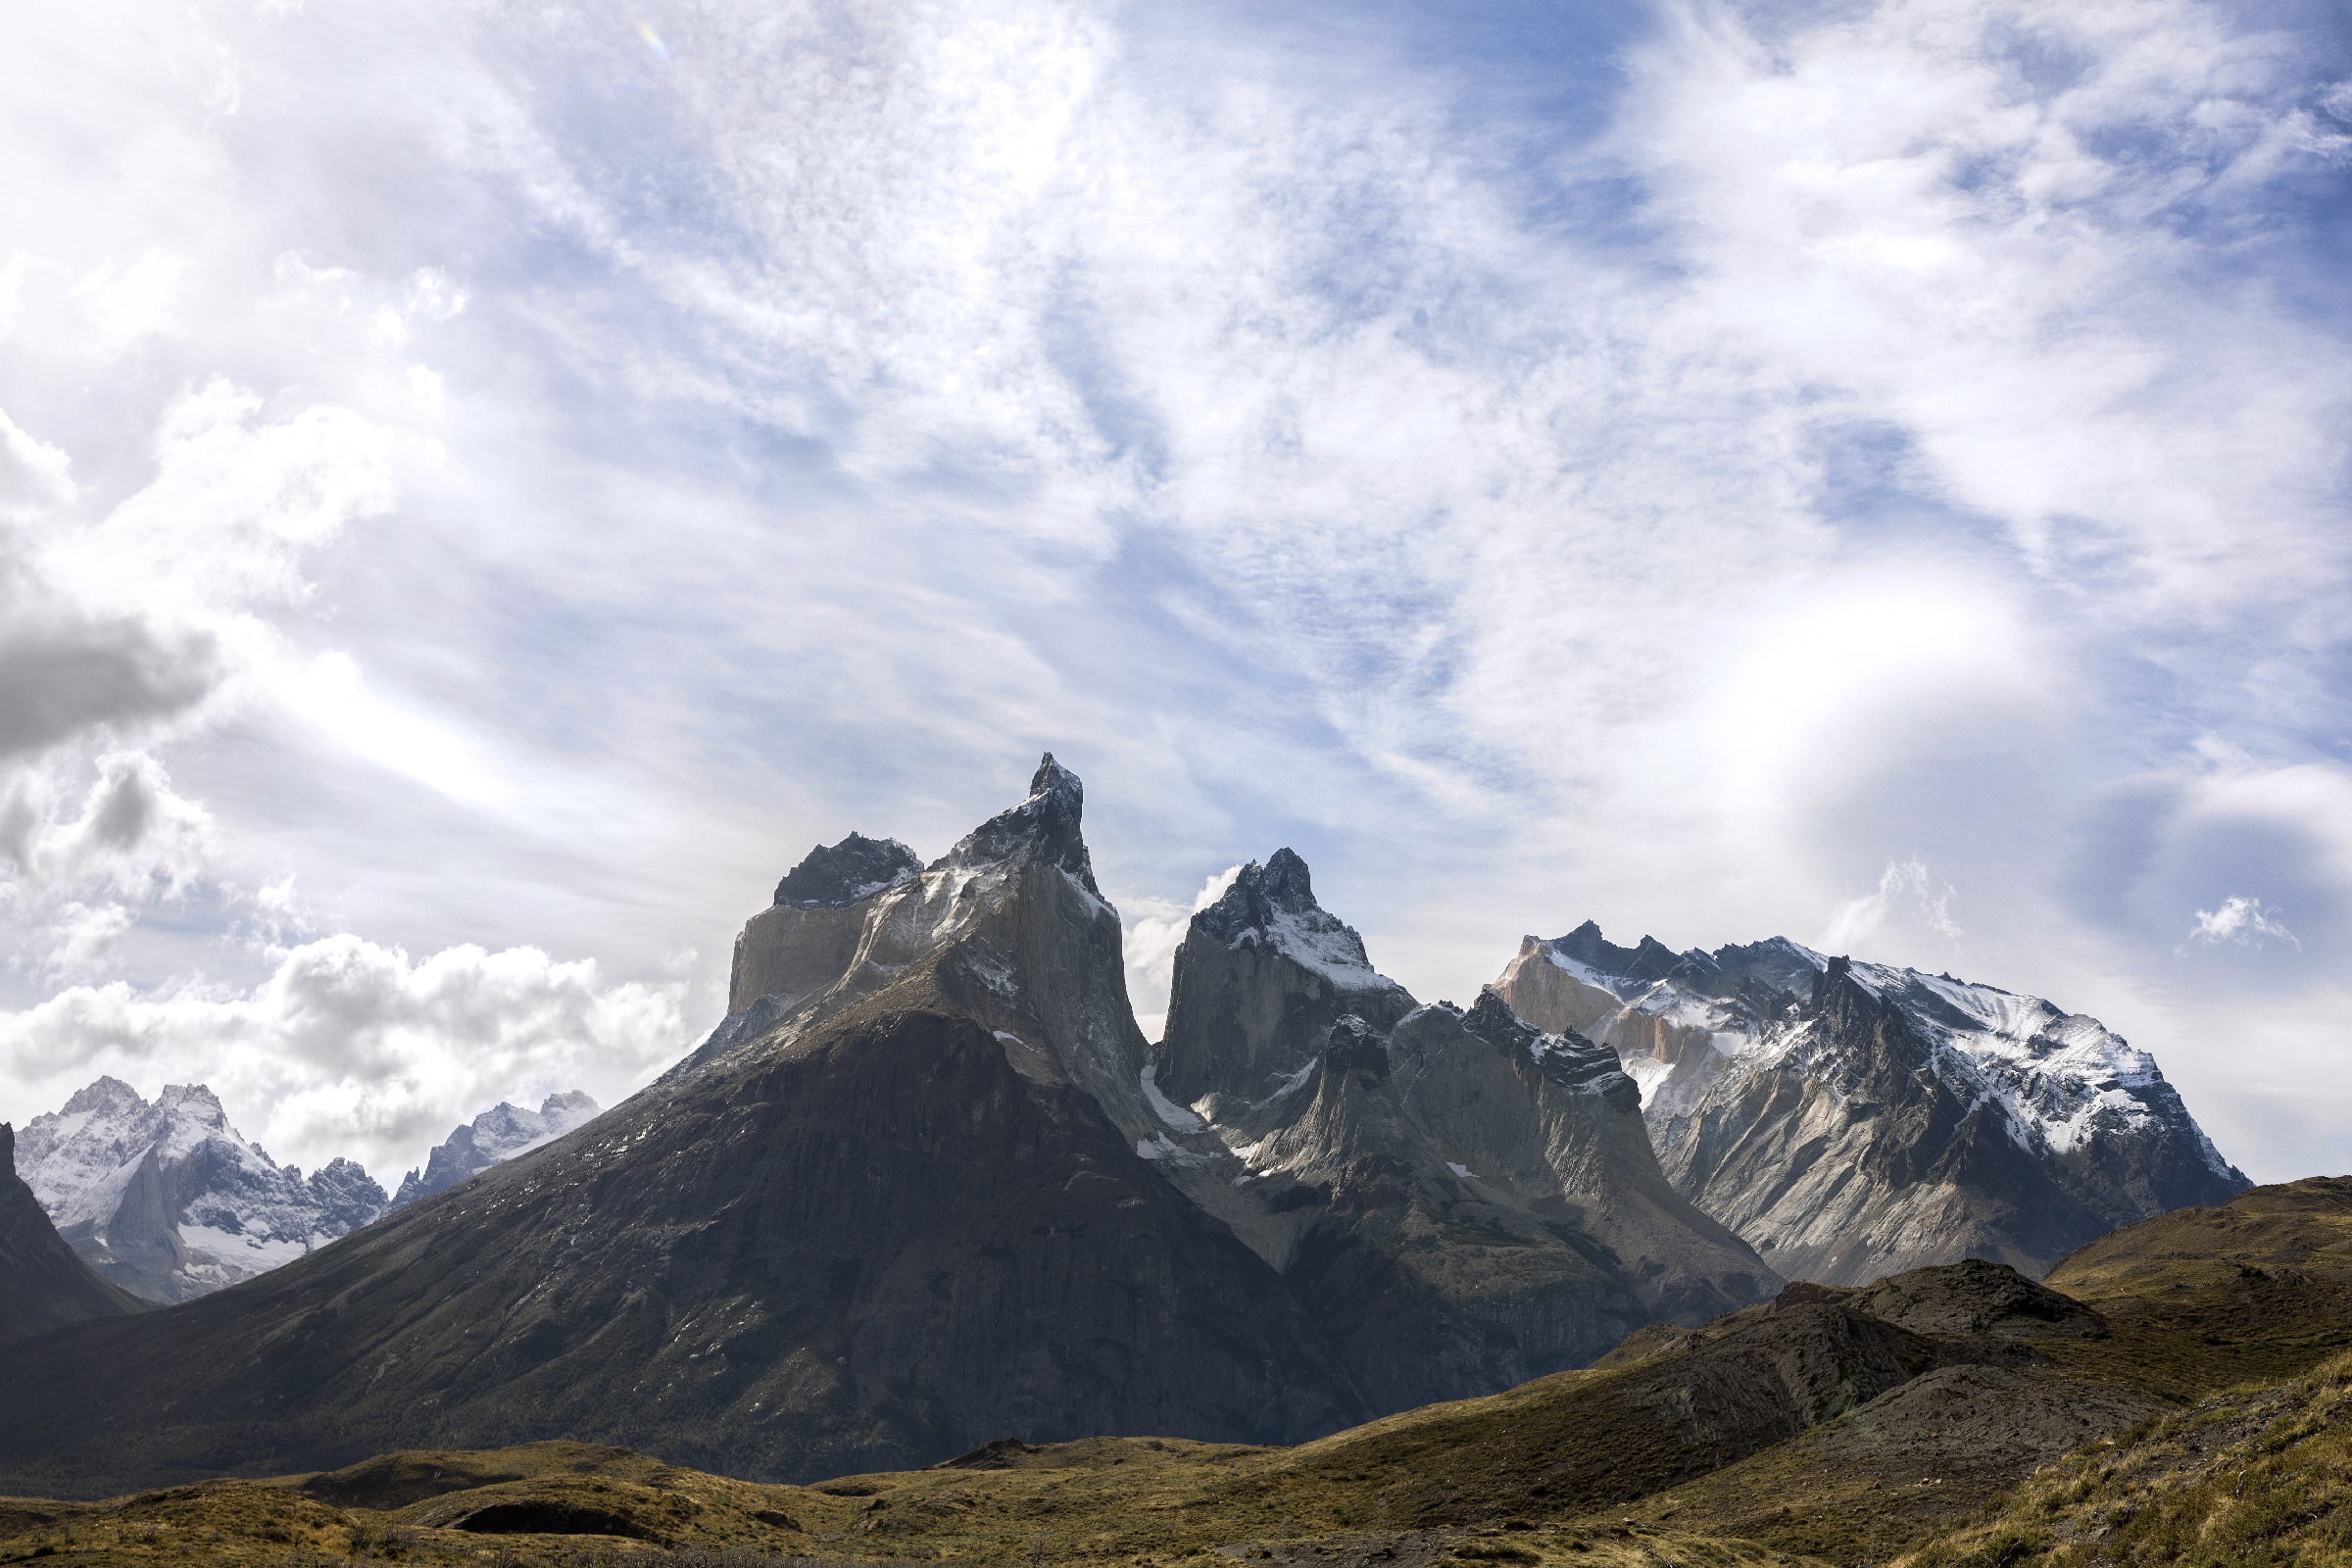
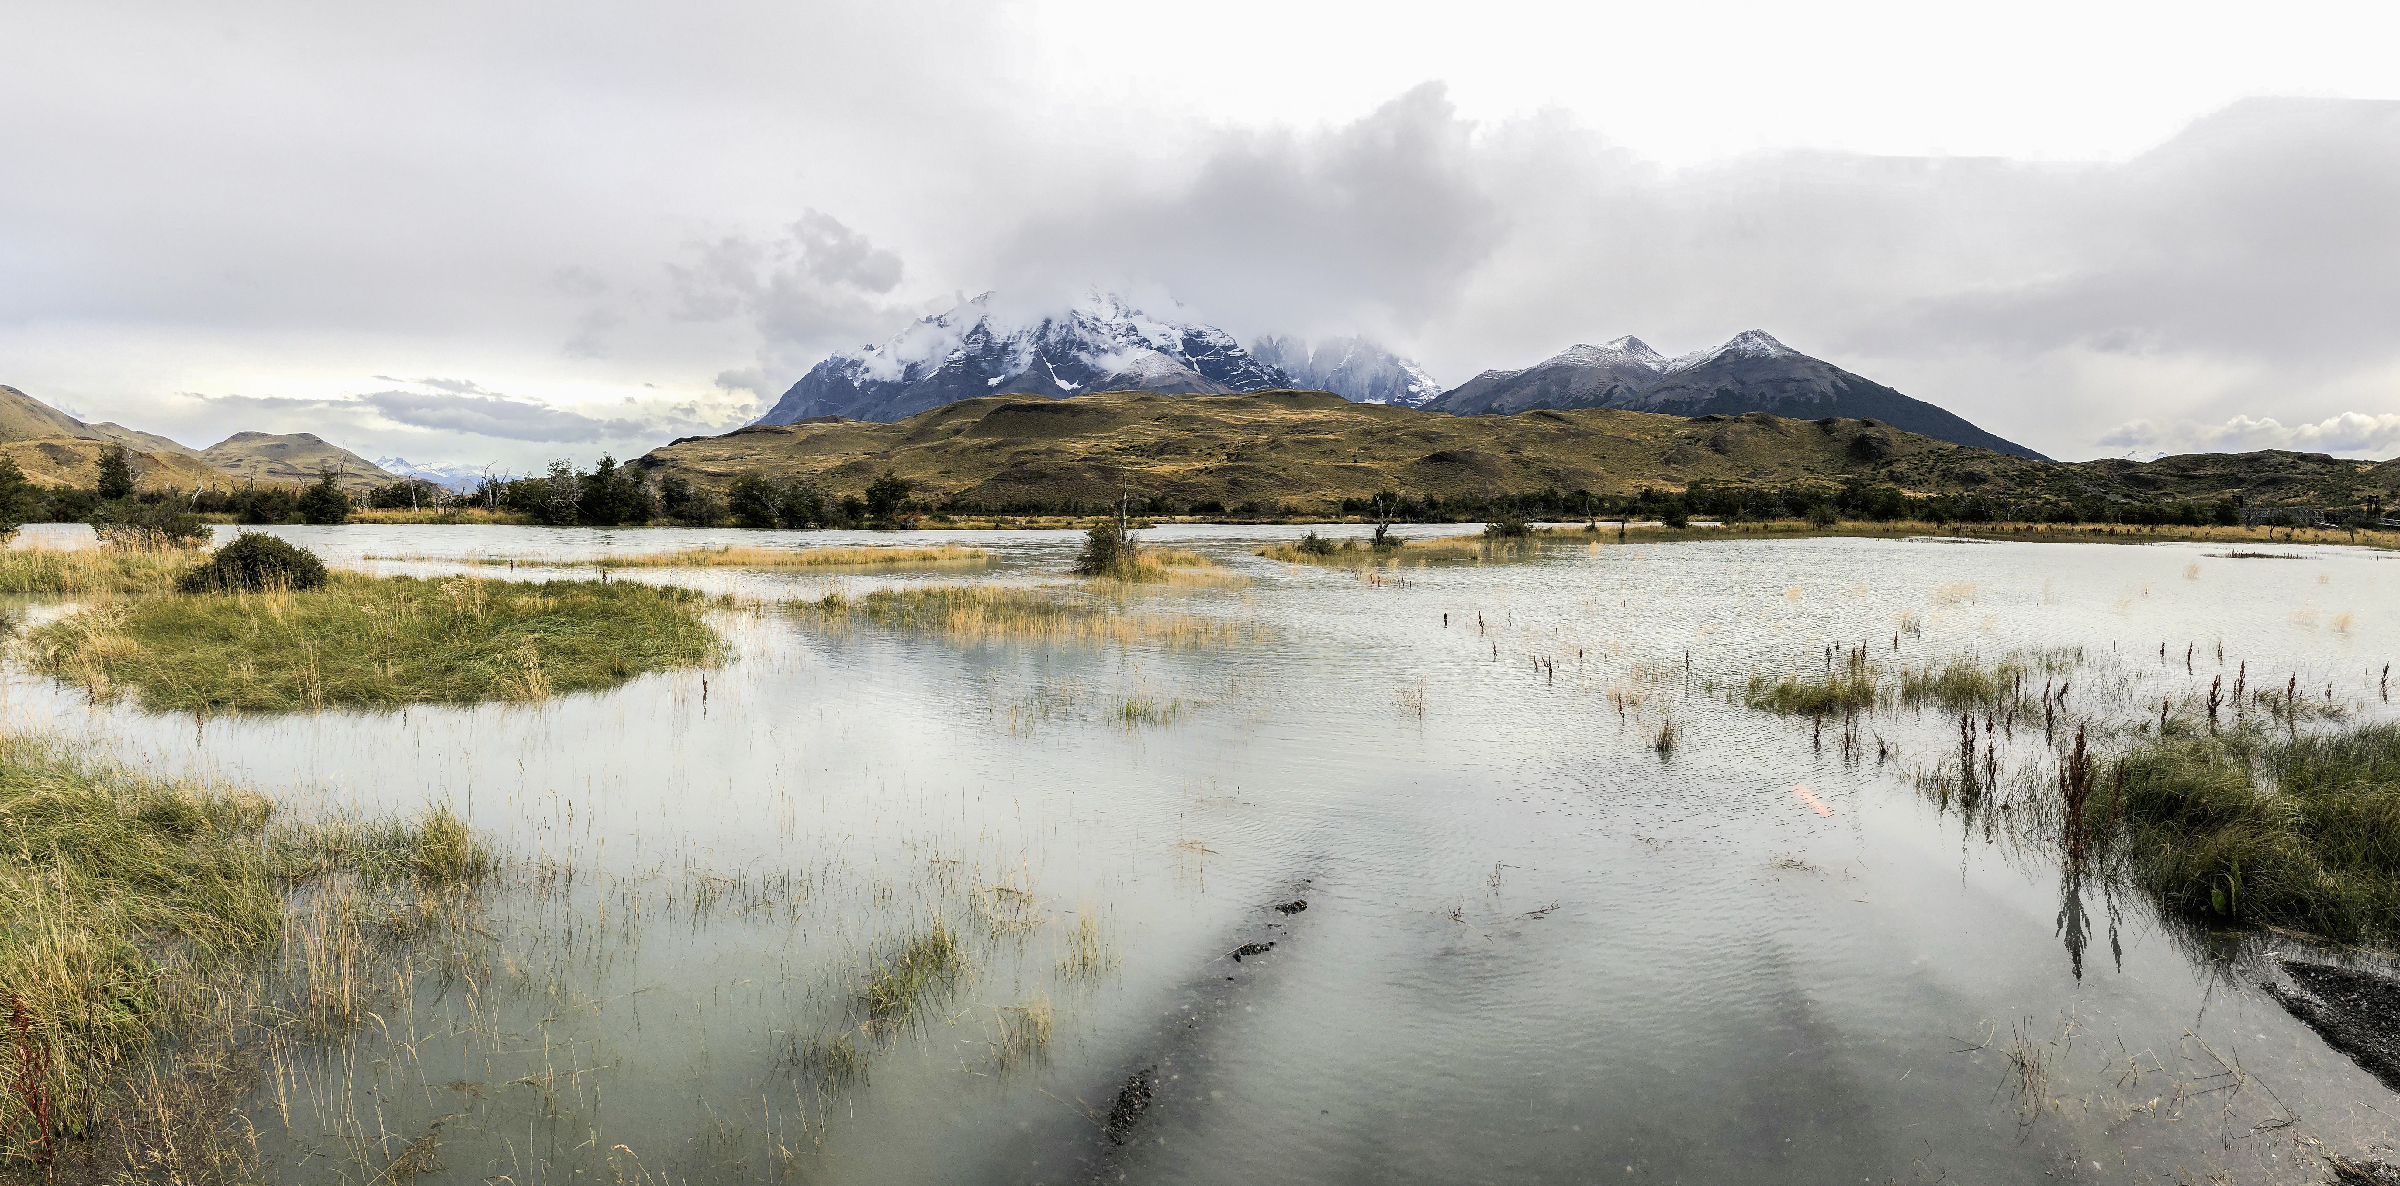
Torres del Paine
Torres del Paine National Park, in Chile’s Patagonia region, is known for its soaring mountains, bright blue icebergs that cleave from glaciers and golden pampas (grasslands) that shelter rare wildlife such as llama-like guanacos or pumas.
Torres del Paine gave me both insane joy and sadness. I broke my camera on day 3 after walking in the rain for a whole day. That meant that I wouldn’t have it for the the most iconic landscape of the park — the 3 granite towers from which the park takes its name.
I still got some pretty awesome shots during the first days and finished with my iPhone (which, no matter what a lot of people might say, doesn’t give any incredible results).
Day 1 — Boat to lago grey and Paine Grande
Coming from Puerto Natales, we waited a few hours for our boat.

As we couldn’t sit still, we started exploring the area.

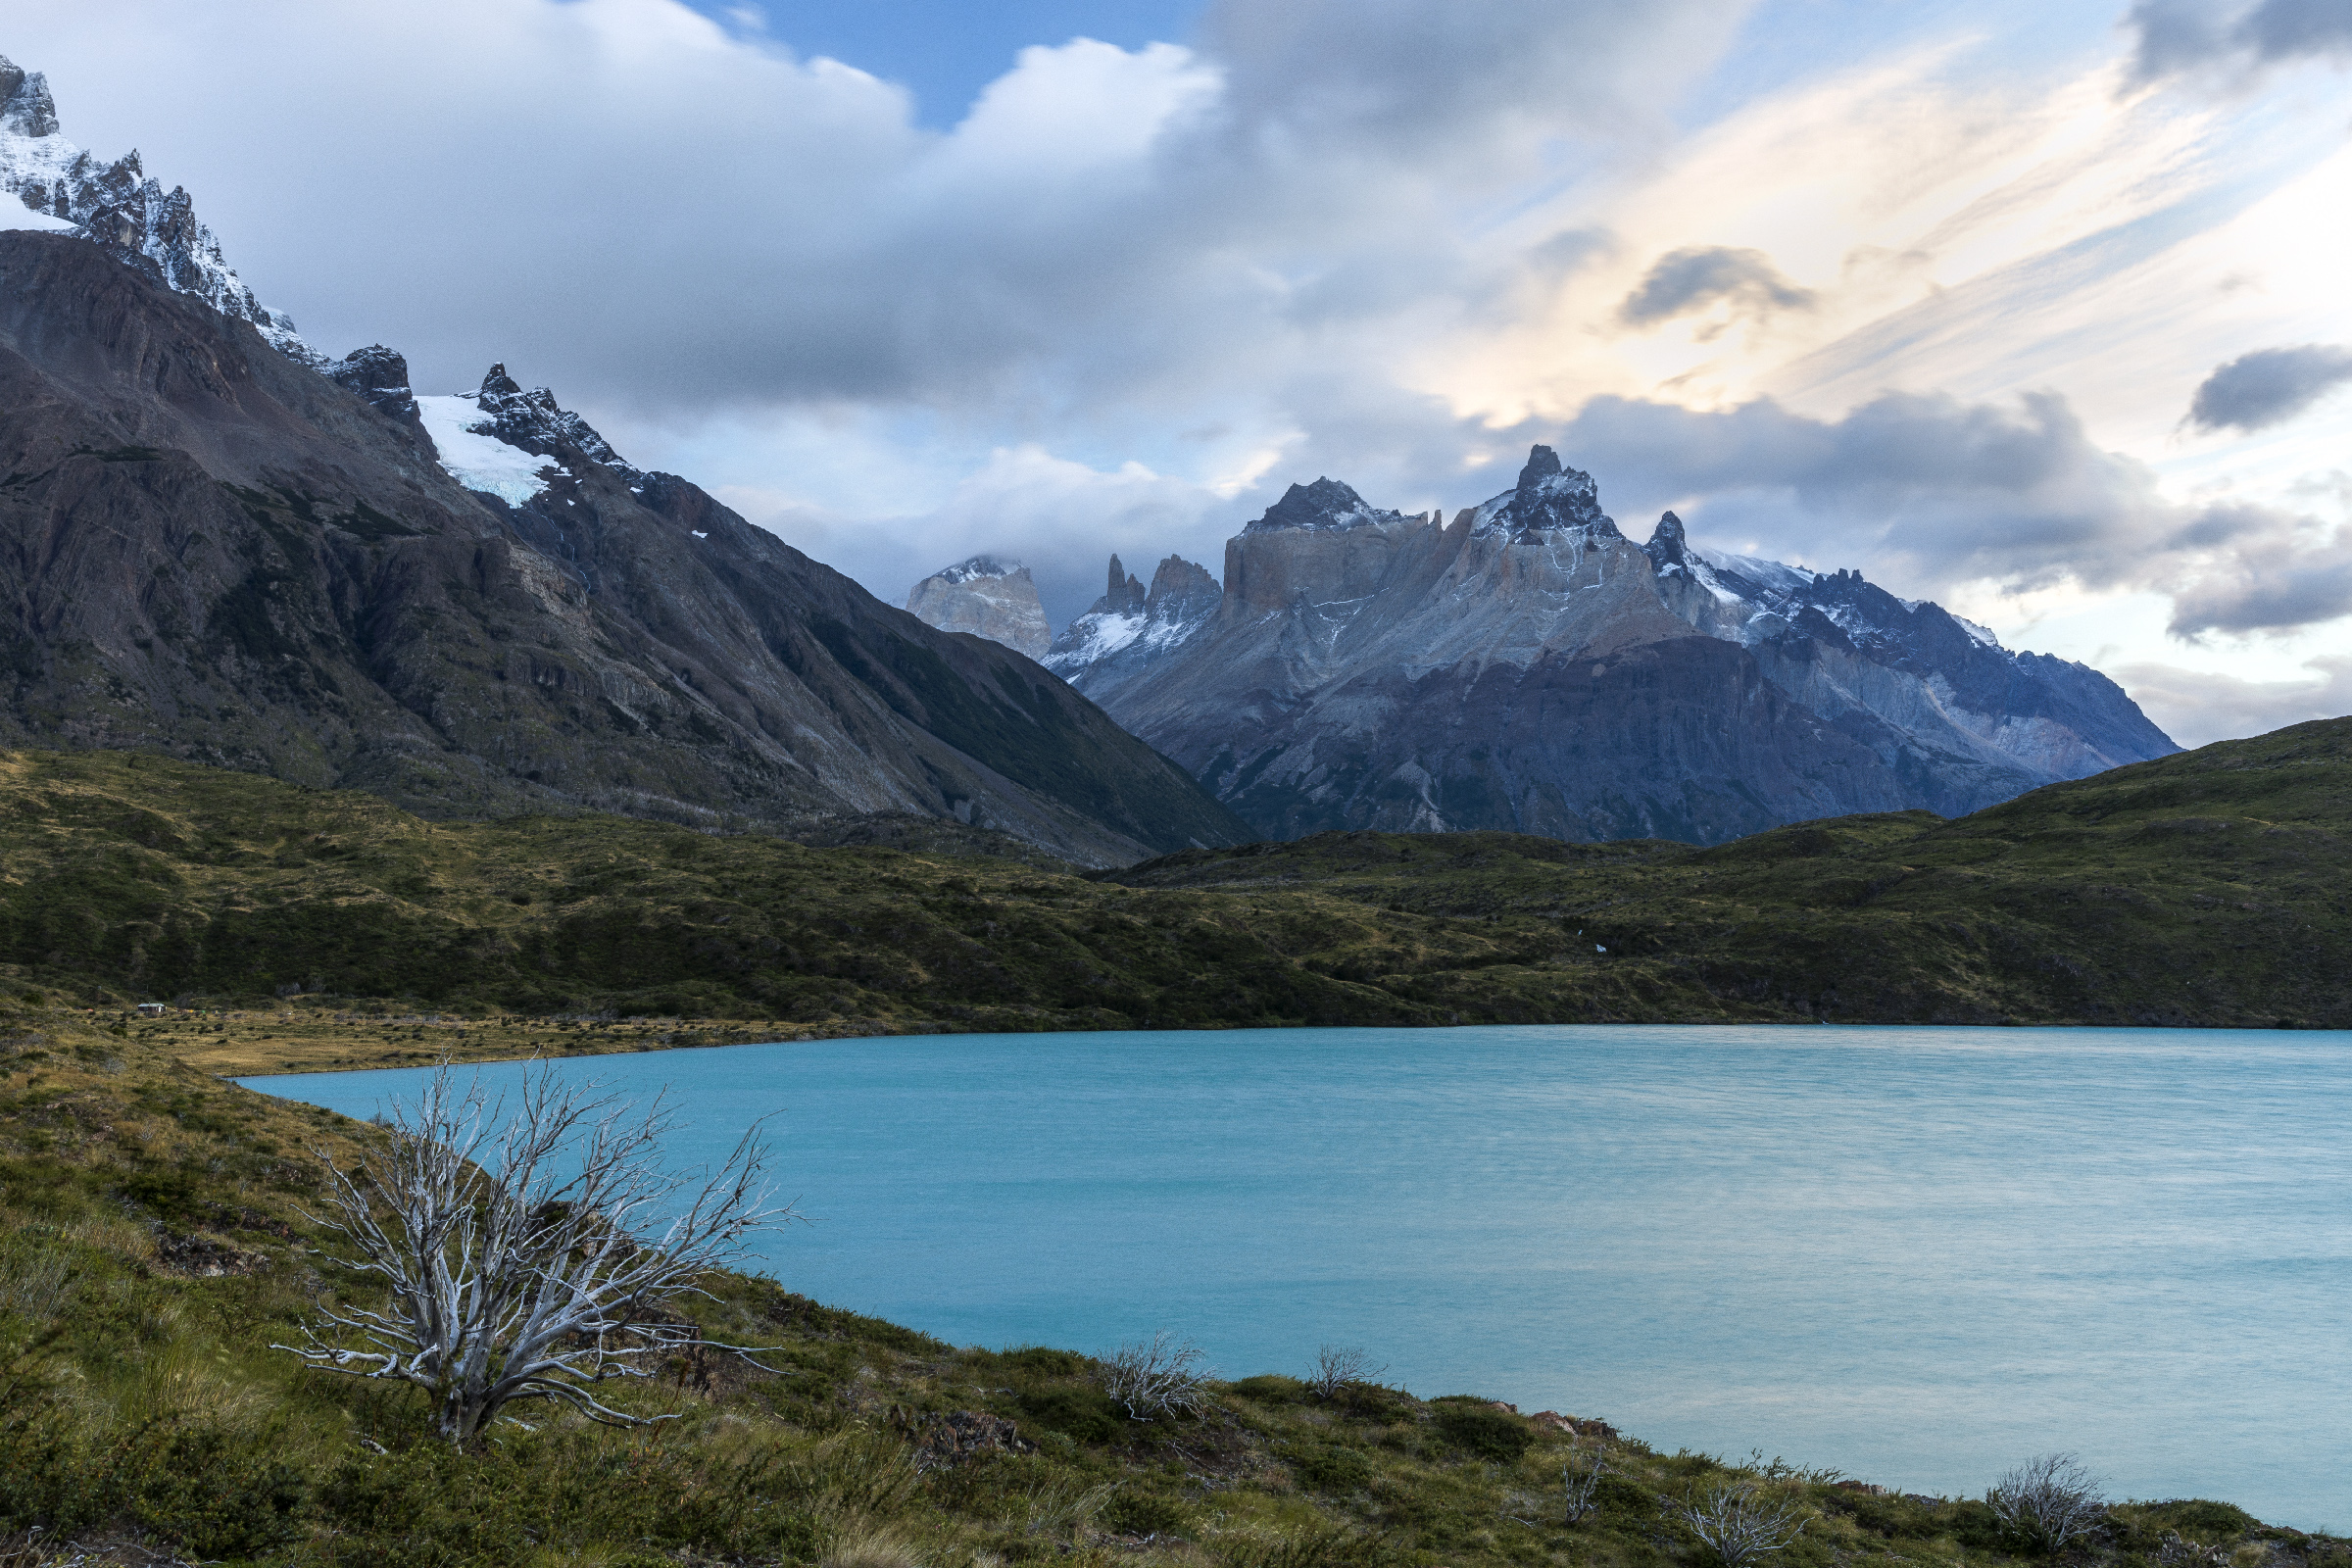
We would soon get to Paine Grande and start trekking for the rest of the day, exploring the Lago Grey area


Yeah the view of the glaciers was totally insane. In fact it quickly became one of our favorite parts of the park.
We then headed back to Paine Grande refuge to spend the night.
Day 2 — Paine Grande to Británico and Domos Francés
Mornings in Torres del Paine are insane. We saw a beautiful sunrise every single morning. We decided to wake up super early not to miss it. Headlamp time!

And a few minutes later…


Yeah… we saw that. Rest of the day to the Británico 🙂

Something that you can’t really see on a picture is how windy the area is. Here’s a video to give you a sense.
A fire (started by a stupid human) ravaged the park in 2011, which makes for both supernatural and sad landscapes. Nature is slowly taking over again.


We got to the camp site Italiano before finally heading to the Británico. A lot of people leave most of their stuff there so they don’t have to carry a heavy backpack up the mountain. We obviously missed that step — would’ve been too easy.


A slightly tiring journey…
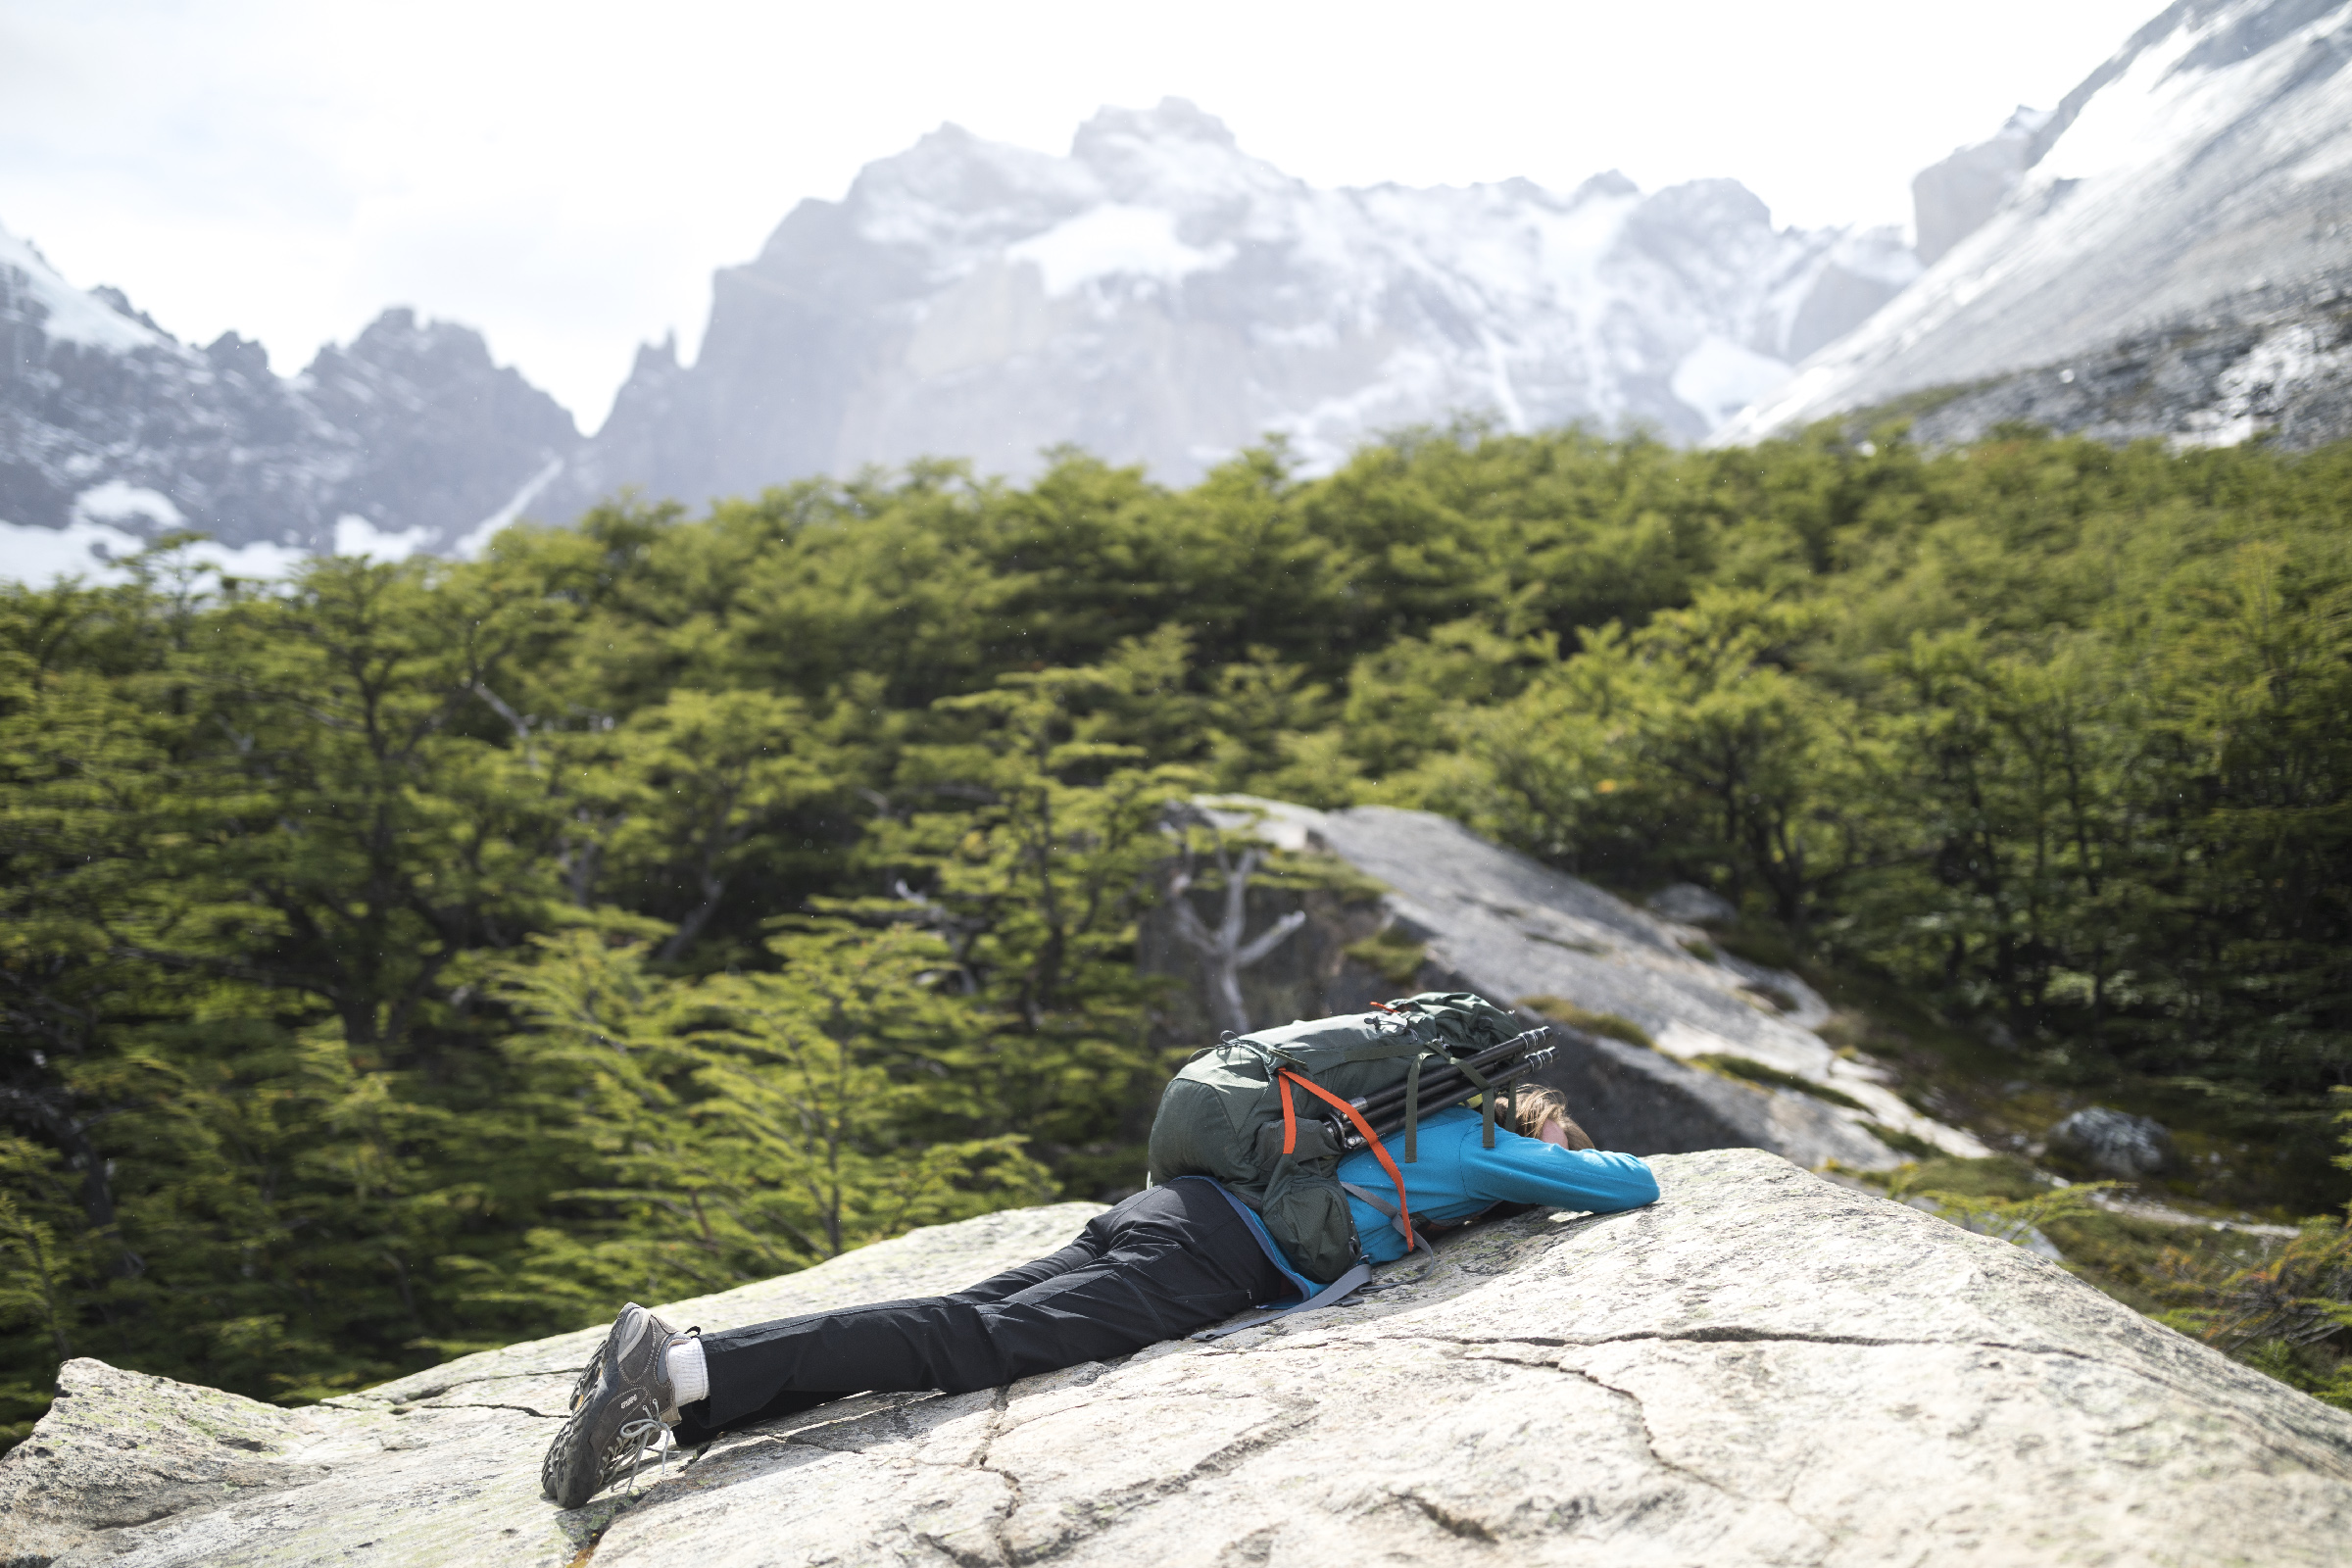
But totally worth it.


To give you a sense of the hike, here’s what my iPhone said:

Day 3 — Domos Francés to Torre Central
I don’t have much to share here. It wouldn’t stop raining and it’s the day Torres del Paine decided to kill my camera. RIP. Last picture from that day just below.

I still hate this world for doing this to me:“you don’t do this to a photographer, do you?” The world did not respond.
Insults.
More insults.
Skip.
Next.
And a video to give you an idea of the situation (don’t watch it all).
Day 4 — Torre Central to Refugio El Chileno
I said it before but you’ll get incredible landscapes every single day in Torres del Paine. Waking up early is what turns your trip into an amazing experience. That morning, we got to see clouds forming a heart.

The first part of the trek to Los Cuernos is quite beautiful.


The second part of this half-day walk is a lot less interesting, mainly walking up through rocks. But in the end, this is what you get to.


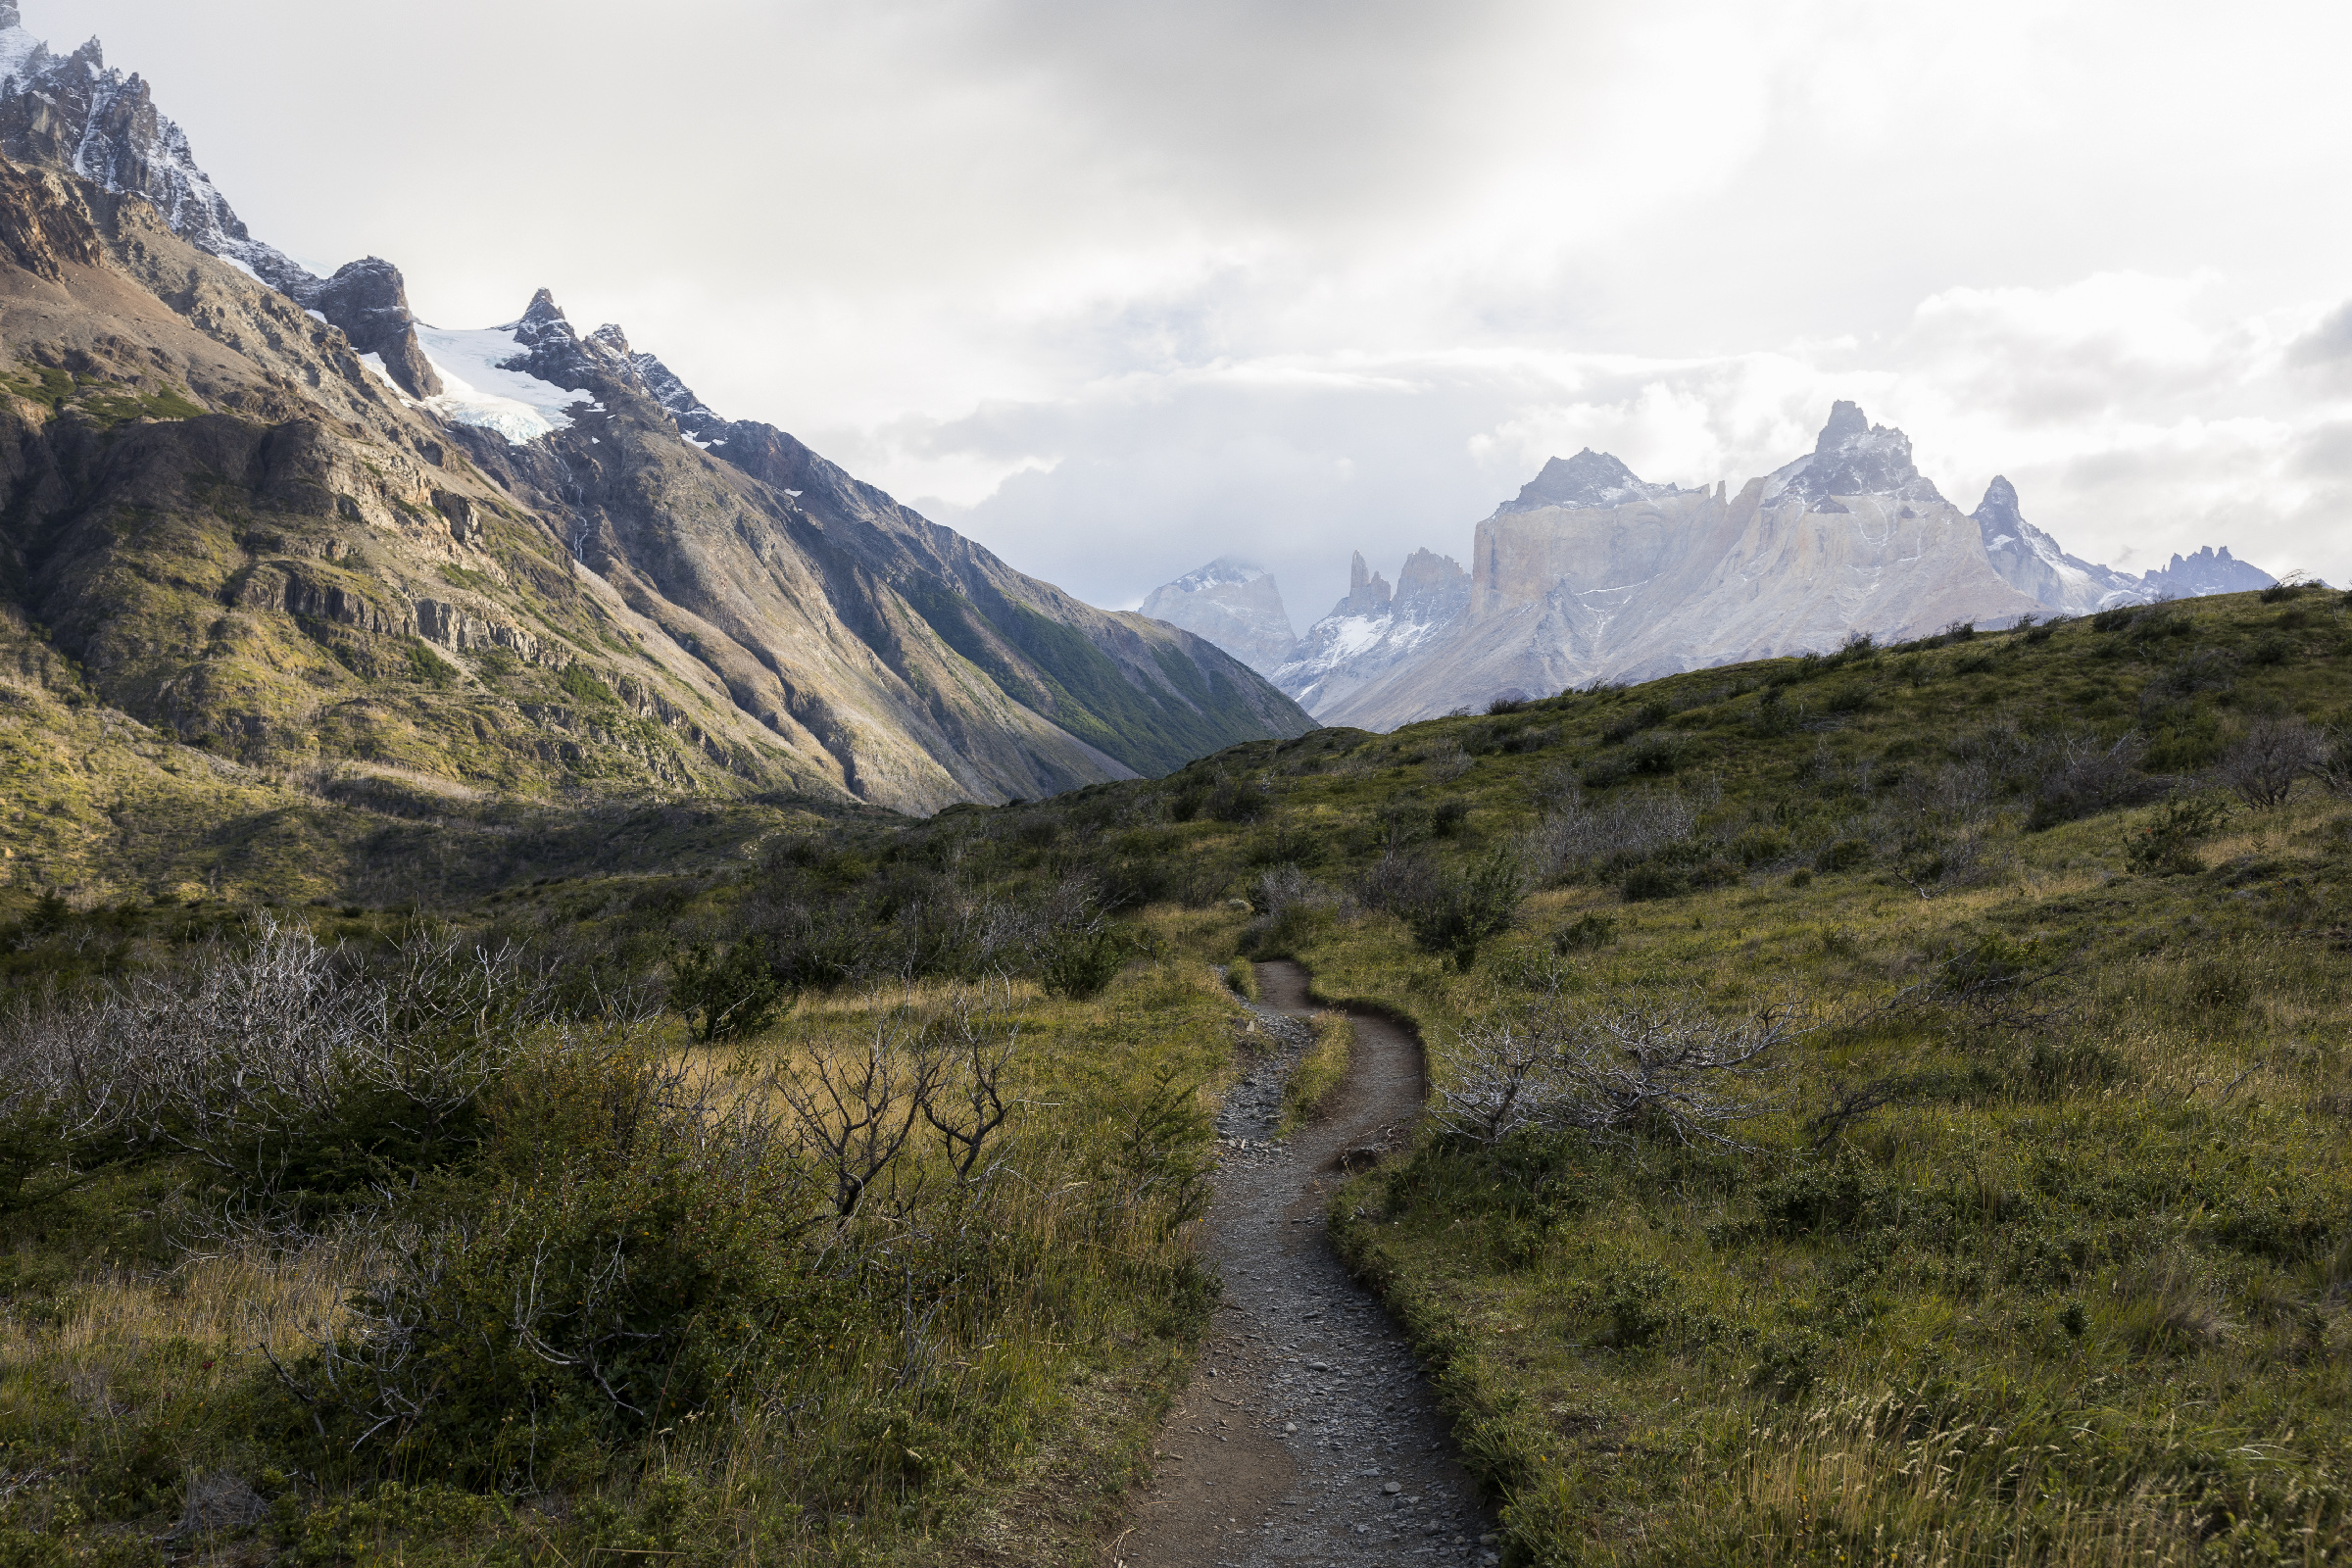
Day 5 — Refugio El Chileno to puerto natales
Our last day in the park with more beautiful landscapes. We slowly went back down through some winding little paths.


If you made it till here, thanks for reading! Next time you hear from me, it’ll be from the desert :). I realize I didn’t share much about the technical aspects of the trip (difficulty, gear needed, etc.) — I felt like there was enough resources online already covering that. Feel free to ask me any question you might have about this trek in the comments below though!
I’ll leave you with a timelapse of the road Fin del Mundo. See ya!
26 comments